


|
|
|
|
 JBL
L26 Decade
JBL
L26 DecadeHere is my documented journey to resurrect some neglected JBL L26 Decade speakers.
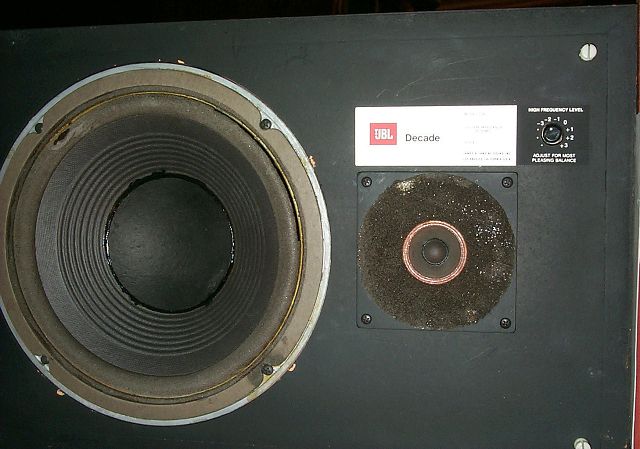
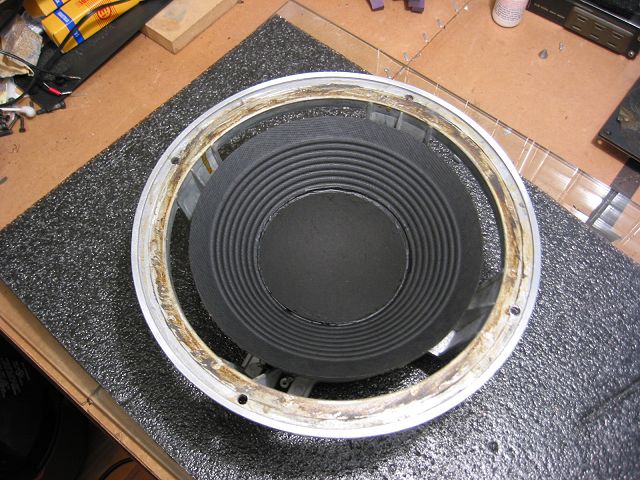
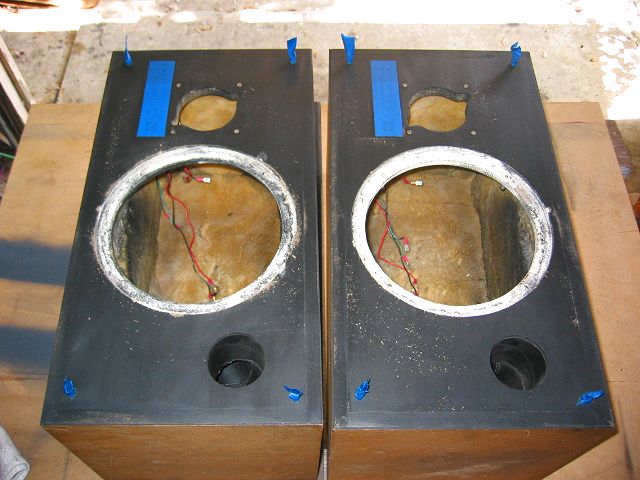
Here is what I had to work with; both woofer surrounds were
shot, tweeter foam rings were
disintegrate or missing, one tweeter had some kind of "goo" or glue
all over it and the
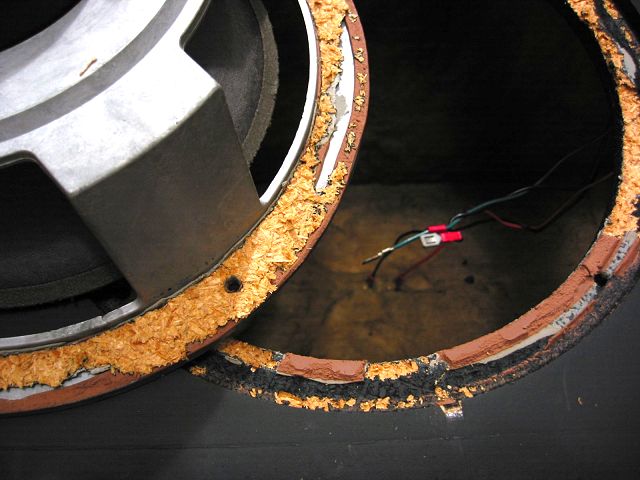
worst part was someone having sealed the woofers with some kind of caulk that
effectively
glued the drivers in place. So, when I removed them it pulled up part of the
cabinet.
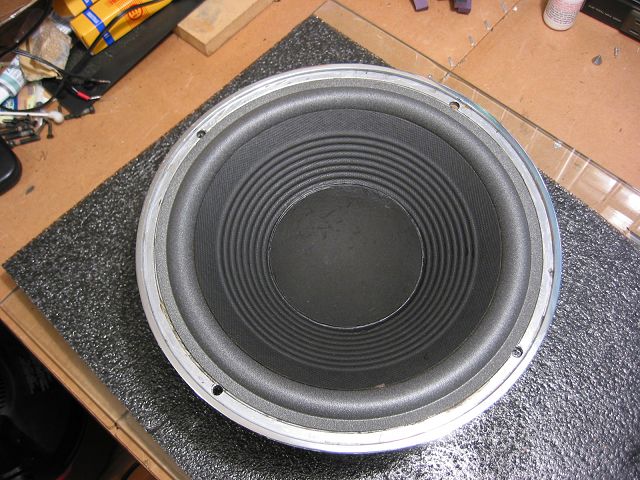

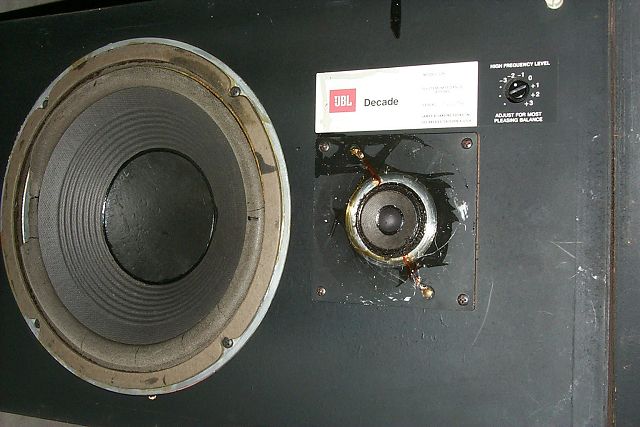
I cleaned up the woofers and sprayed the cones with a very
light dusting of Krylon Semi-Flat
black to add some color back into them. I then went to the trouble of sanding
the basket lip
starting with some 320 grit paper and then all the way to 1000 before polishing.
I think it adds
a nice touch. I then refoamed them with surrounds I got from Rick Cobb on Ebay
(looneytune2001).
I believe he is one of the best guys for this kind of stuff, as he has gone
to the trouble to do his
homework and supply technically correct parts. Then the tweeters cleaned and
tested.
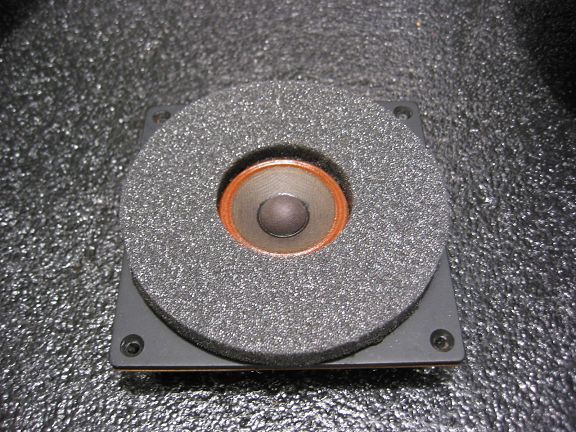
I cut some new foam rings out of some scrap foam I had laying
around. I have ordered the
thin black rings from JBL. The correct part numbers are:
LE25 #50402 (grey) / LE25-2 #53363
(black) / LE25-4 #54279 (black smaller diameter) Once the black rings
arrive I will put them on.
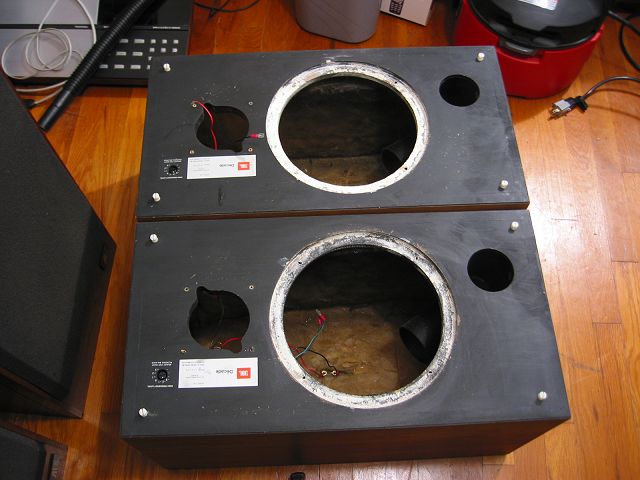
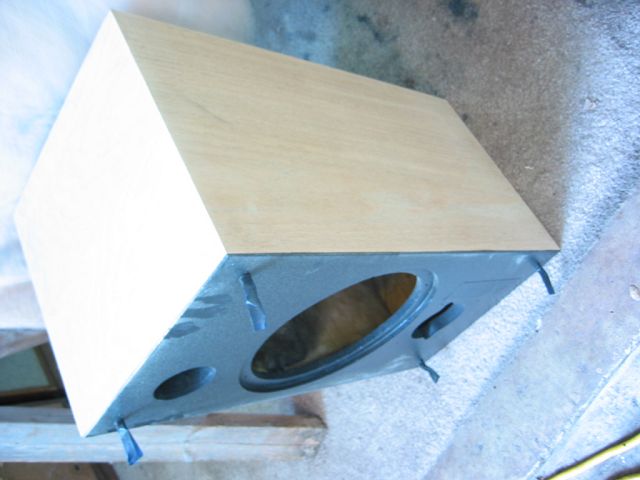
First thing for the cabinets was to apply some wood filler to the voids left
when removing
the woofers. Then sand it down to get a nice mounting surface. TIP: put the
mounting
screws in from the back flush to keep any filler out of the threads. Next was
to mask off the
baffle pieces and sand the surface before painting. Again, with Krylon Semi-flat
black.
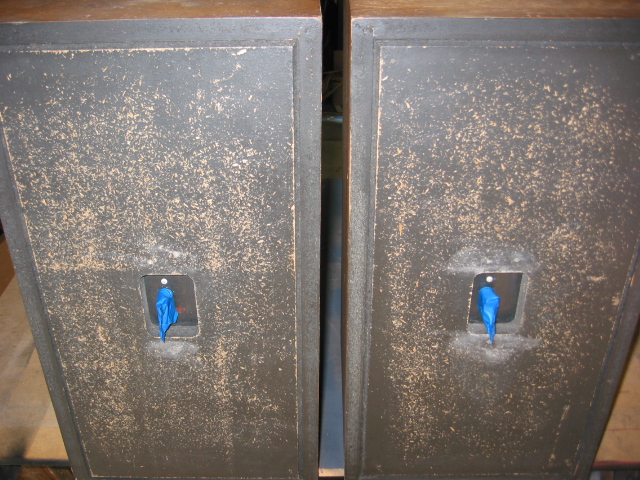
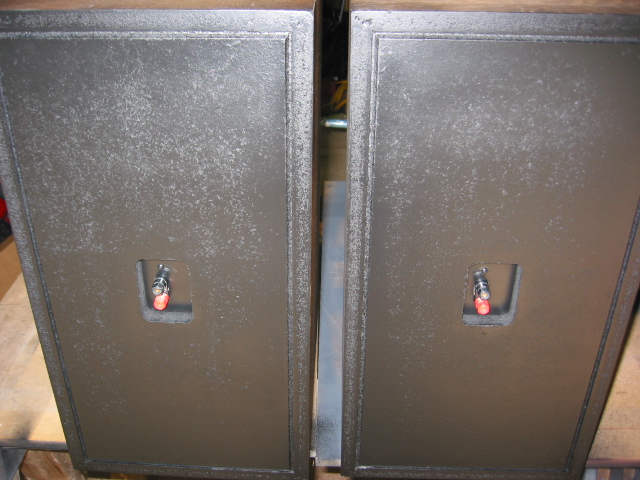
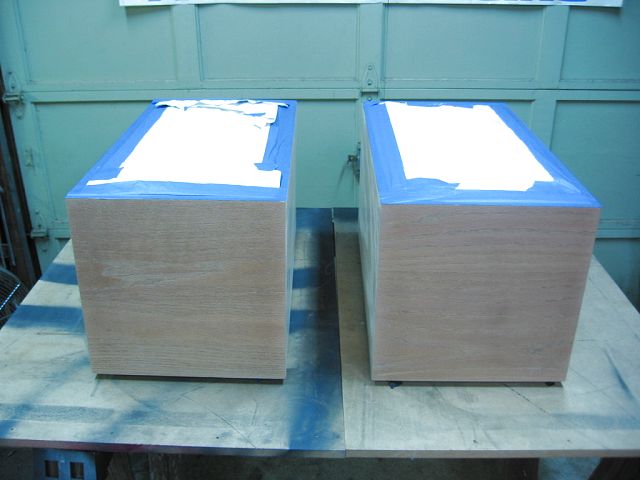
Here the backs are sanded and then painted. Then onto sanding
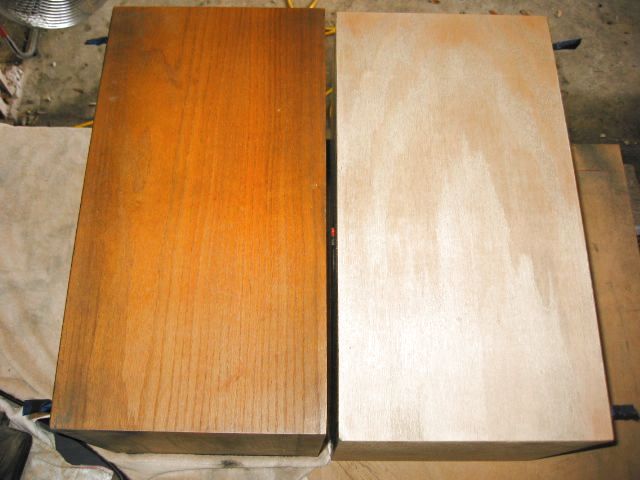
the cabinets. The side by side
picture gives you a before and after comparison. I started with a belt sander
and some 320 grit
to remove some of the original surface sealer. If you
are not skilled with a belt sander, don't use it.
The veneer is not very thick, so you can sand through it, if you're not
being VERY careful.
I then switched to hand sanding using a rubber block and paper. More 320 and
then 400, 600 and 1000.

Here is a cabinet after final sanding, then taped off for
spraying and last a cabinet with one coat of DEFT.
I applied several coat, lightly sanding in-between coast with some 1000. The
final coat is not sanded.
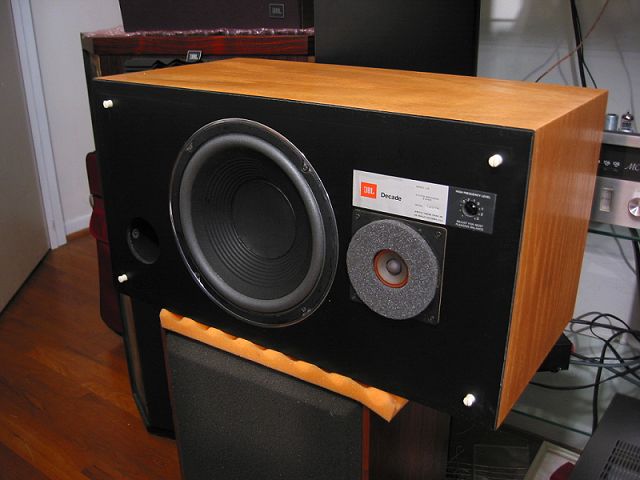
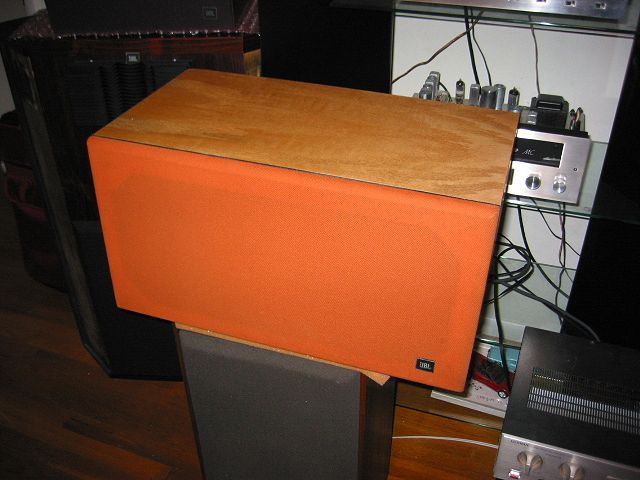
Which brings us to the final product. They turned out rather nice.