2000 Suzuki Hayabusa
Modification: Polished Cans


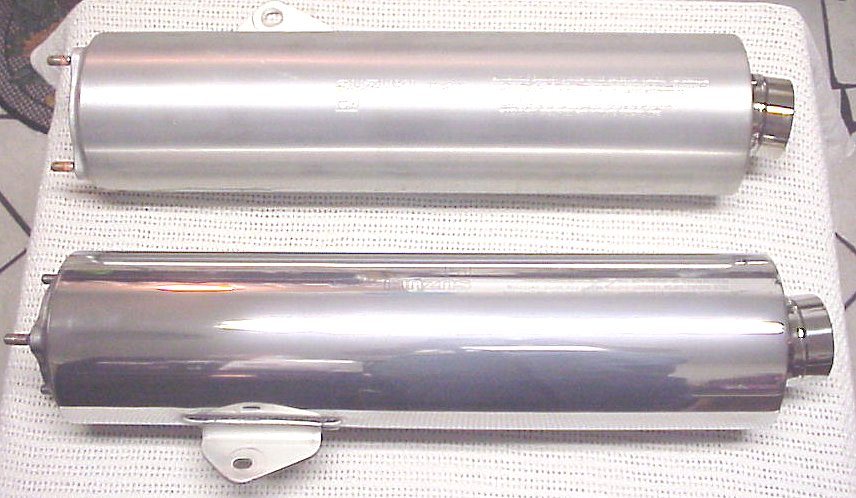
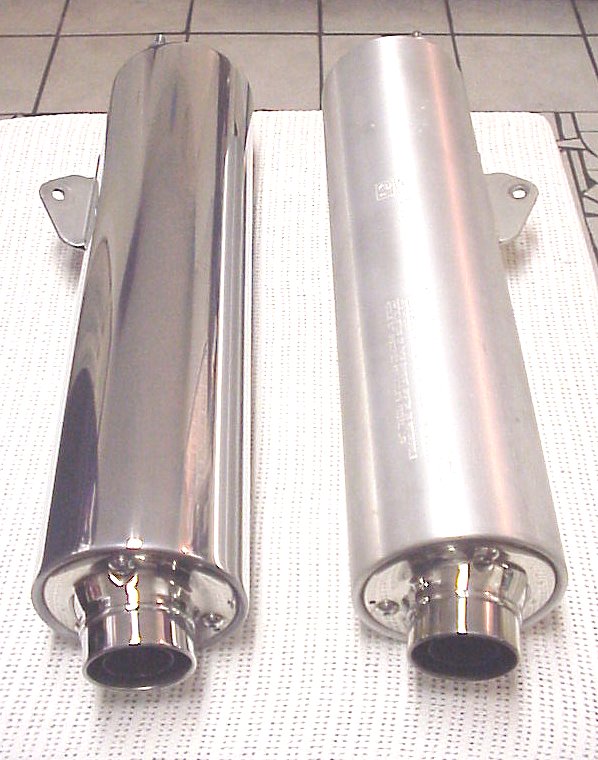
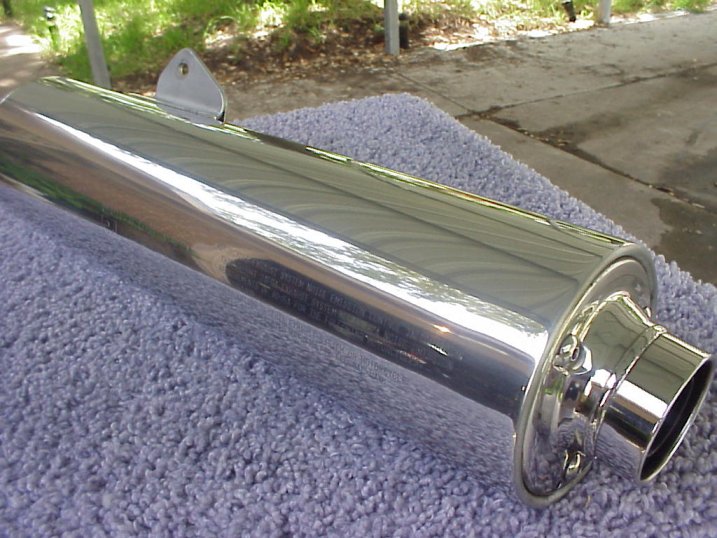
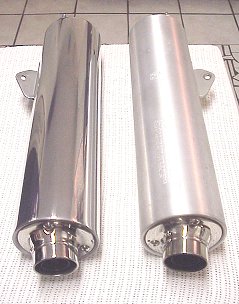
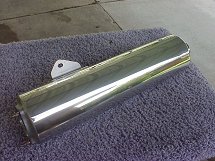
Here we have the stock can on top and the polished below.
WARNING: This is not a simple quick job.
It is labor intensive and could take you hours or days ,
depending on how hard you want to work.
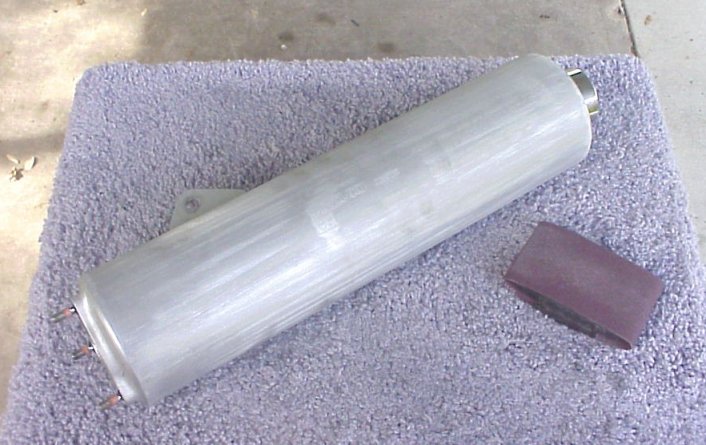
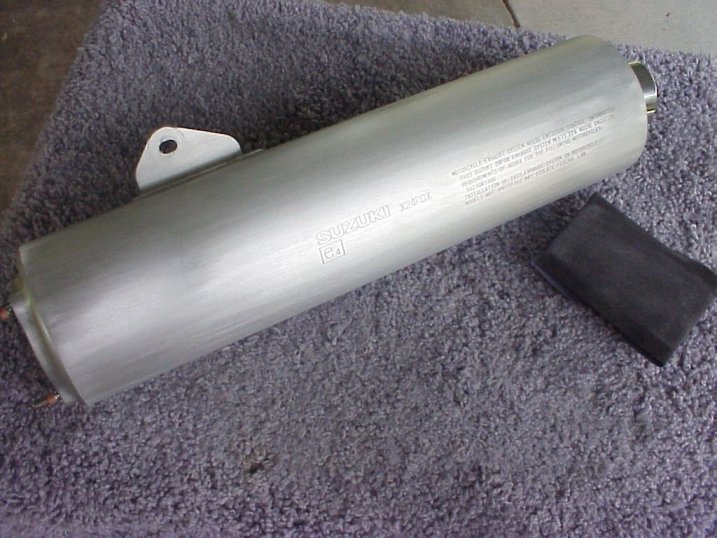
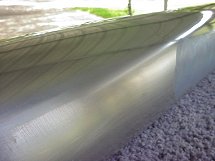
Sanding
This can be done in several variations depending on how many
steps you want to take. The basic premise is to start with a coarse sand paper,
work your way to a very fine one and finish with some polishing compound. I
did all the work in my garage on a small table with a bath mat on it to cushion
the can and prevent any scratching from rolling it around the table.

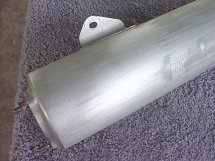
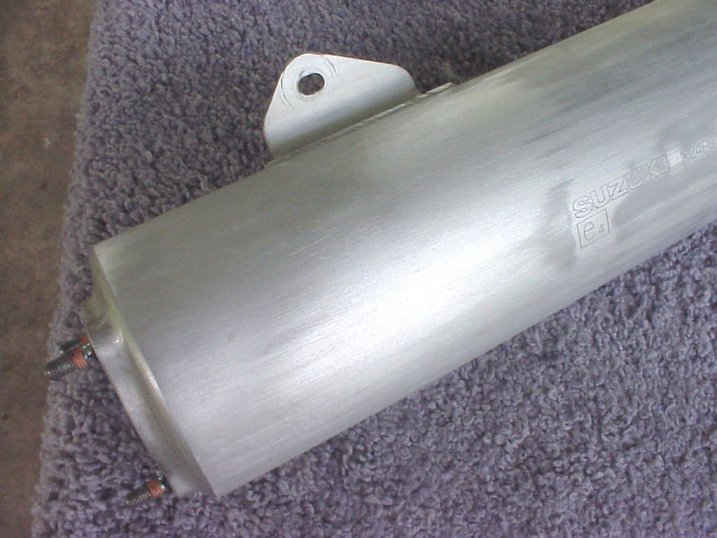
I started with some 80 grit aluminum oxide, then moved to 120
grit. It holds up longer and cuts well. This is the hardest thing you will be
doing, that is, cutting through the fine spiral machining grooves in the cans.
Use a sanding block and work length wise until you have cut to smooth aluminum.
You will see a color change and be able to hear the difference when sanding.
You can use a belt sander here, but be careful not to sand a flat spot in the
case.
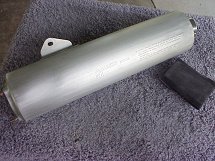

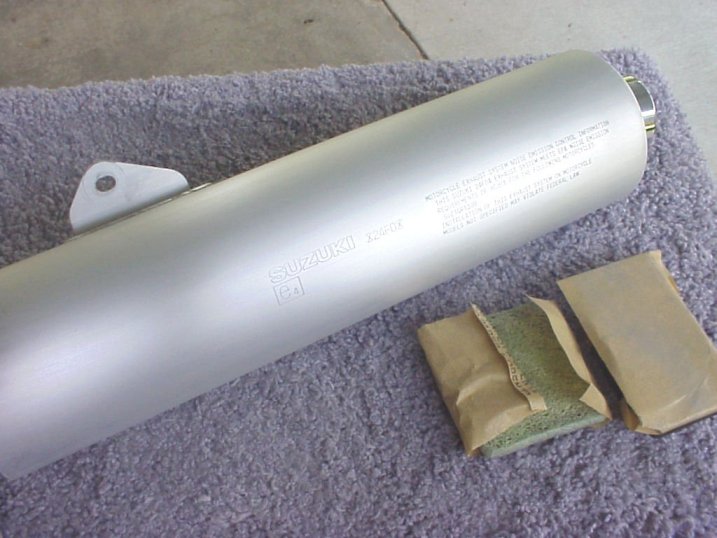
I next went to a "fine" emery cloth, 220 grit general
sand paper. I repeated the process using a sponge in place of the sanding block
to make the surfaceuniform. From here I switched to a wet sanding method. I
used some 400 grit stuff I picked up at the local automotive store and the garden
hose on a slow trickle. Again going over the whole thing to achieve a smooth
uniform finish.

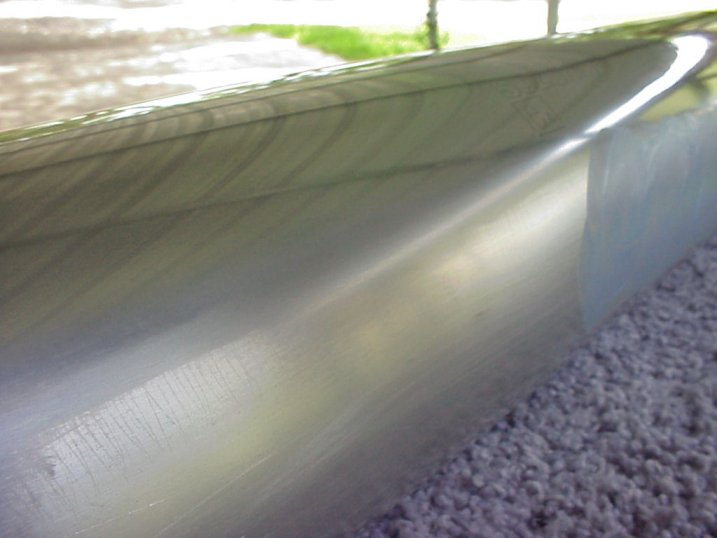
Final sanding is done with some 1000 grit wet paper. Here I
switched from the sanding block to a piece of sponge. It helps to keep a uniform
pressure on the paper. It isn't necessary and you can achieve the same results
using your hands. It was just easier on my fingers. Take your time here. Your
working out the fine scratches in the aluminum left from sanding. You want a
very smooth, almost shiny surface.
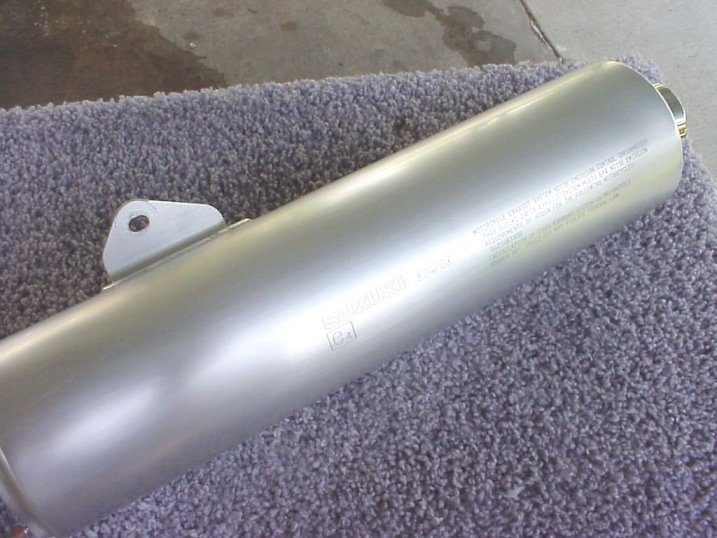
Polishing
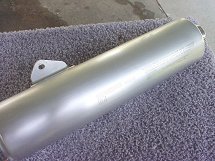
Your final step is polishing. I used some "Blue Magic"
metal polish, but you can use "Semi-Chrome" metal polish or "Mother's
Mag & Wheel Polish.
I cheated here and used a buffing wheel on my bench grinder,
but you can do this by hand. The amount of polishing you do here is totally
dependent on how smooth you got it during final sanding. If your stuff starts
to polish but you still have scratched visible, go back to the 400 grit and
then 1000 grit again. Work a section at a time. When you have polished the whole
thing once, you can start polishing length wise a whole side at a time to get
a uniform high polish.

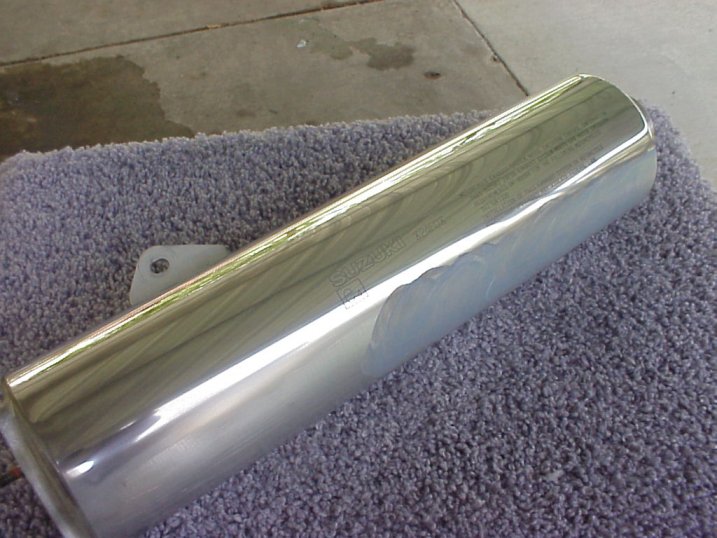
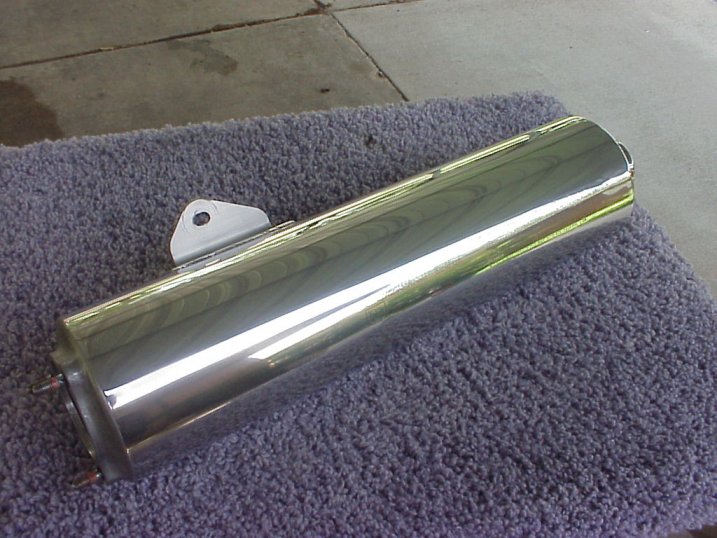
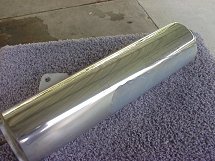
All done and it looks GREAT.
busa@wardsweb.org
home