


|
|
|
|
![]()
|
AUDIO
|

CDM-7871 Head Unit Install
Am/FM/CD 45 x 4 watts per channel
 Ā
Ā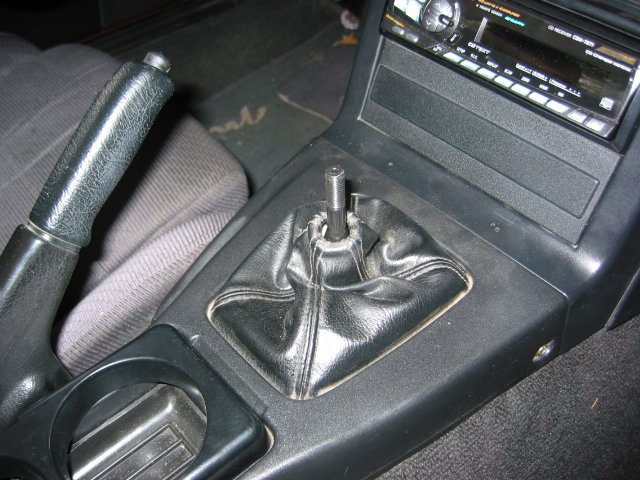 Ā
Ā
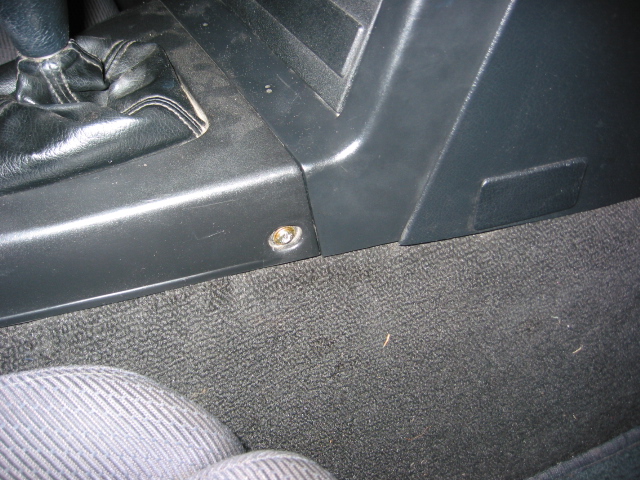
Start by taking out the center console side screws, unscrew the shift
knob
and take out the screw under the cup holder / ash tray.
\ Ā
Ā Ā
Ā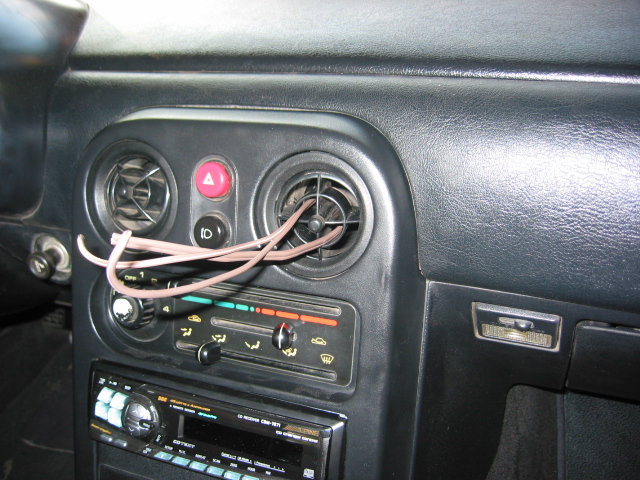
Take out the two screws in side the arm rest and remove the center console.
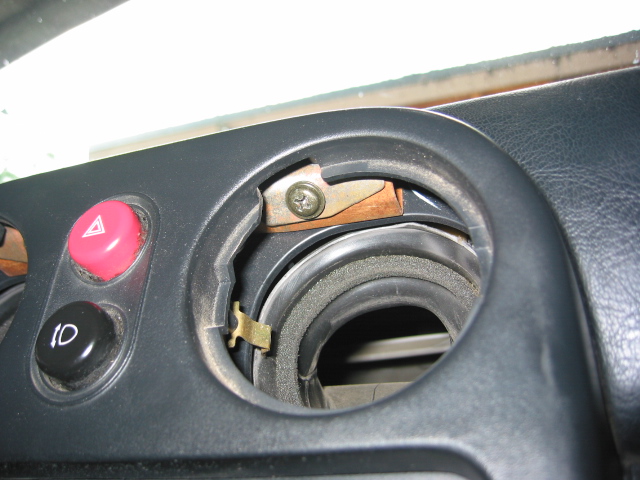
This reveals a screw at the lower left of the controls console. Next I used
a piece of wire
to thread through the eyeball vent, so I could pull it out.
 Ā
Ā Ā
Ā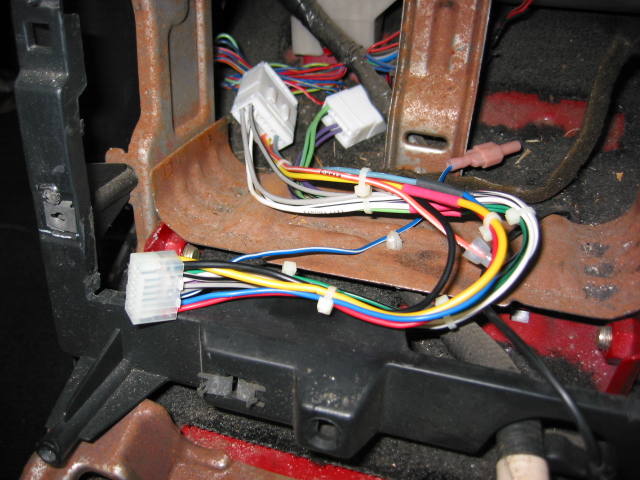
With the vent removed you can now get to the two screws at the top of
the console.
Now the gutted audio section with factory harness still in place.
I soldered together the radio pigtail and mating pigtail to make the install
plug and play.
The mating pigtail used the industry standard color codes, so it was a one
to one hookup to the radio.
 Ā
Ā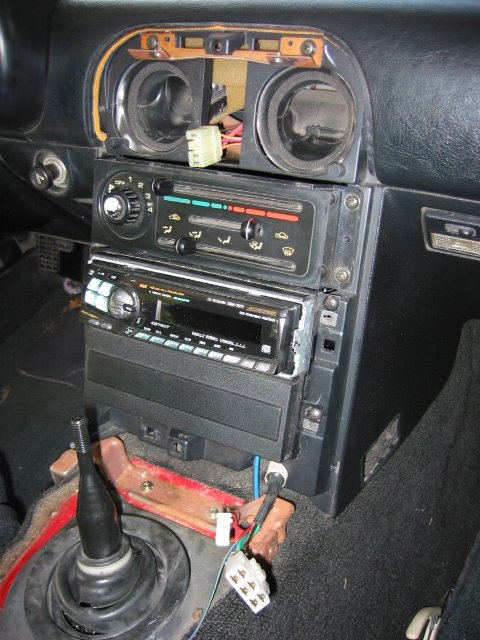 Ā
Ā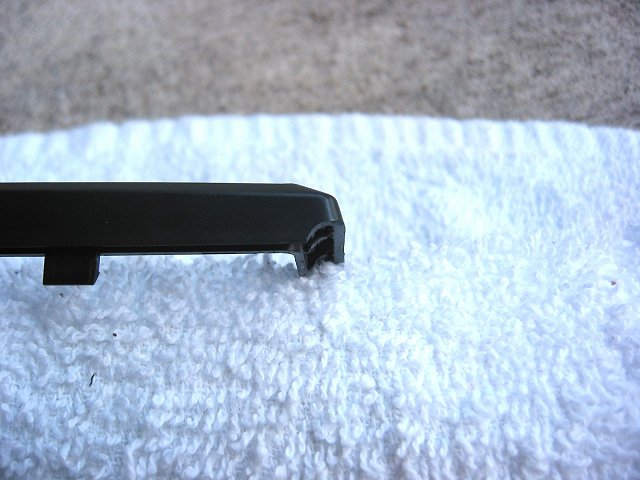
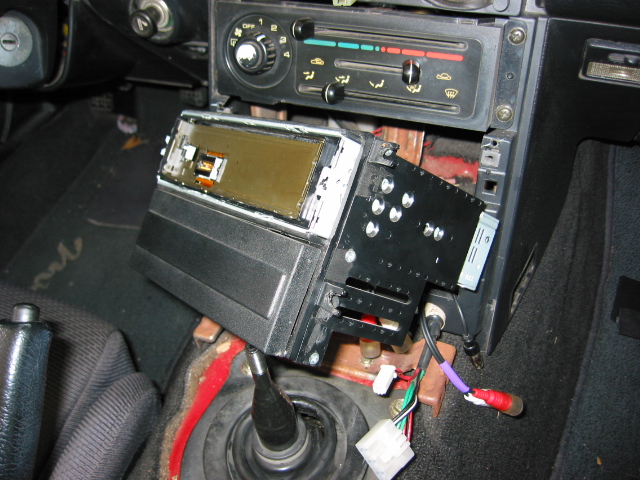
The DIN mount and block off in place and then bolted in.
I had to modify the radio bezel to fit around the factory control console.
 Ā
Ā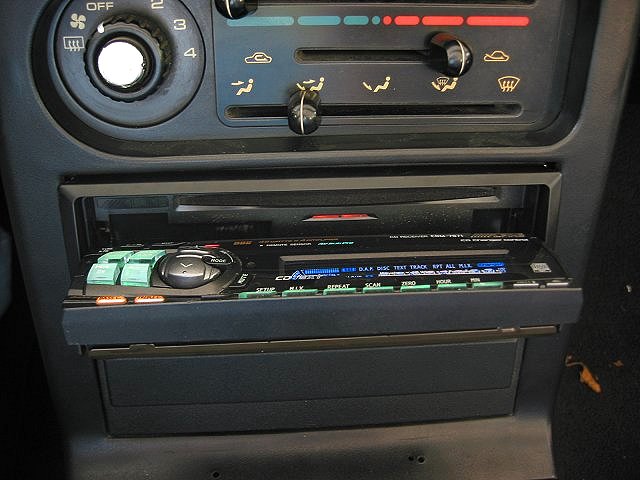 Ā
Ā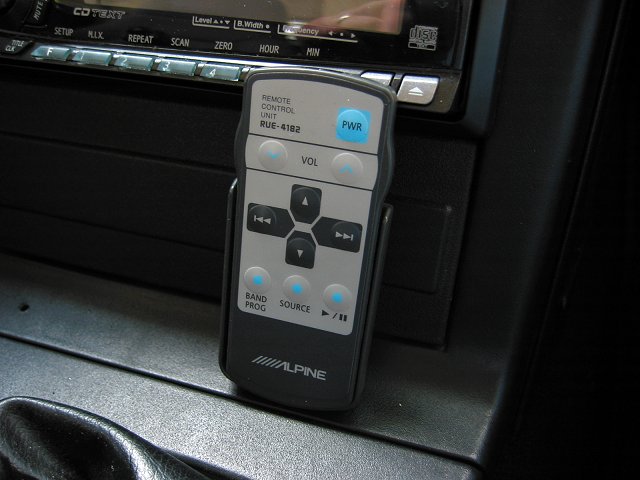
Reversed the procedure to put it all back together and presto - tunes.
The deck has a tilting / removable faceplae and remote (not that I will ever
use it).
HPC2205 Door Speakers Install
These are 5.25" because that's what the idiots at Crutchfield
say I needed
When I went to install I found out they are 6.75", verfied on miata.net.
I went ahead with the install, because I had already trashed the packing.
 Ā
Ā Ā
Ā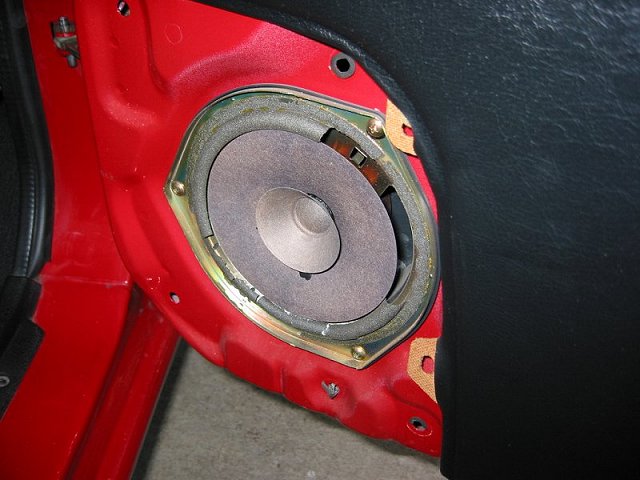
Grill on, drill off speaker ring on, ring off and the speaker is toast.
 Ā
Ā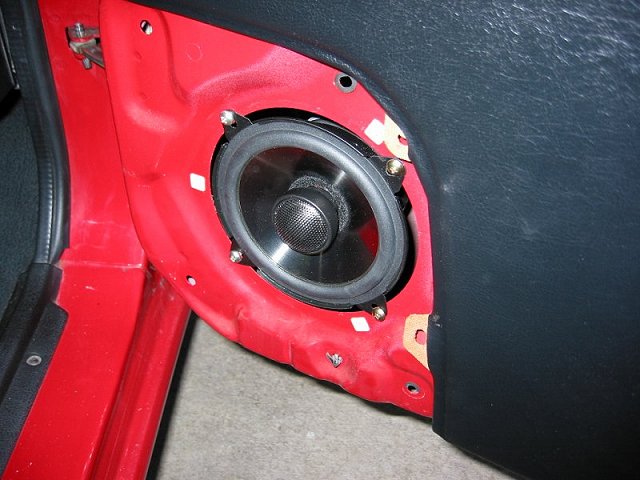 Ā
Ā
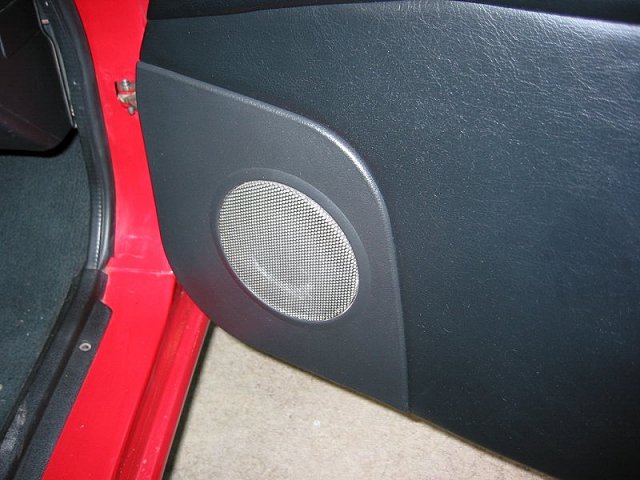
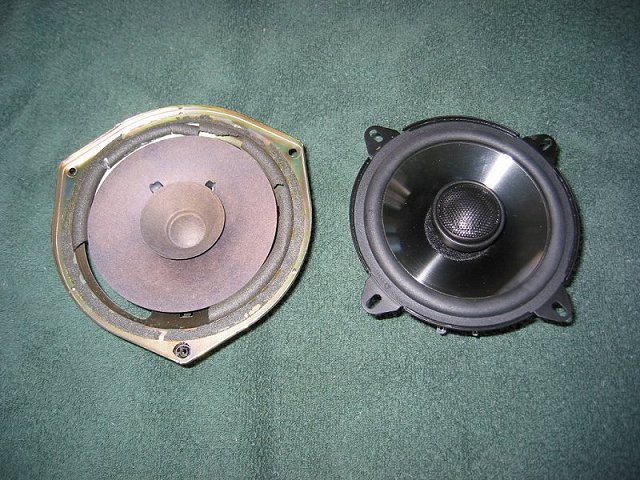
Compairing the two speakers, new speaker installed (had to
drill 4 holes), grill back on.
I removed the grill cloth on the inside of the speaker grill with a razor.

Tip: the stock speaker terminals are held in the connector
by little latches.
Stick something small to lift it and the terminals pull free and easy.
Ā
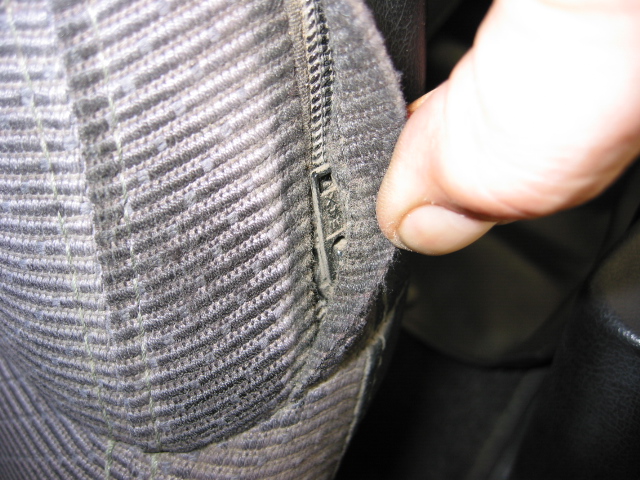
Clearwater Audio Headrest Speakers Install
 Ā
Ā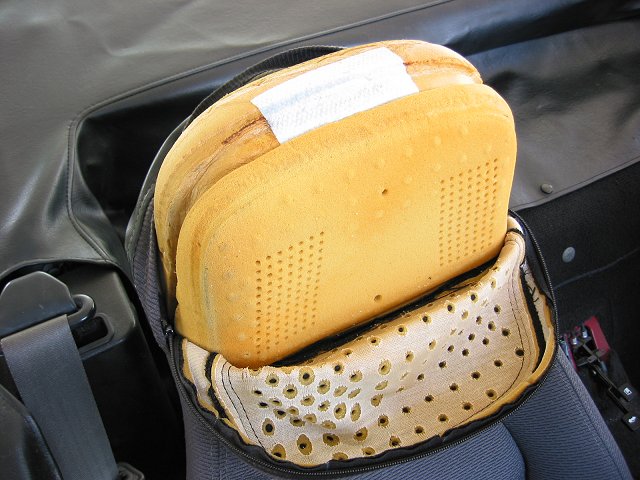 Ā
Ā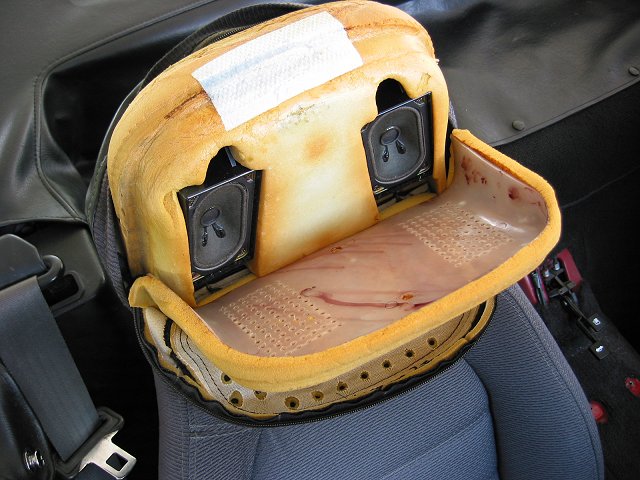
Started by unzipping the headrest, pull back the cover and remove the plastic face.
 Ā
Ā Ā
Ā
I unscrewed the speakers and housings then removed the original drivers (they were shot).
 Ā
Ā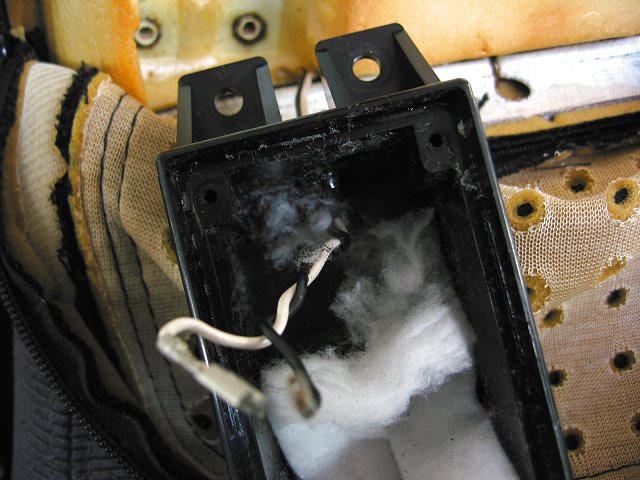 Ā
Ā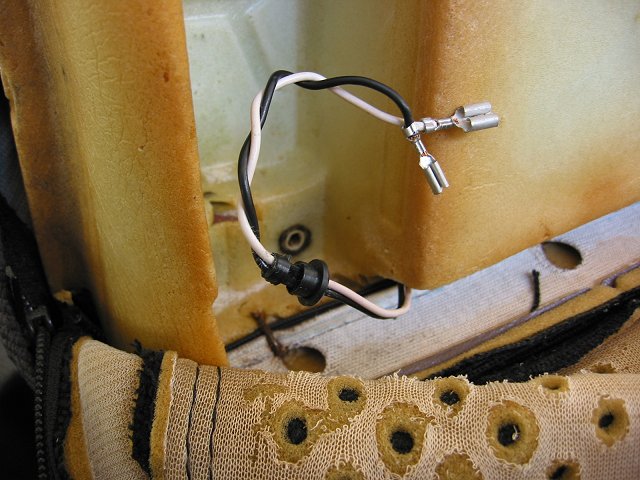
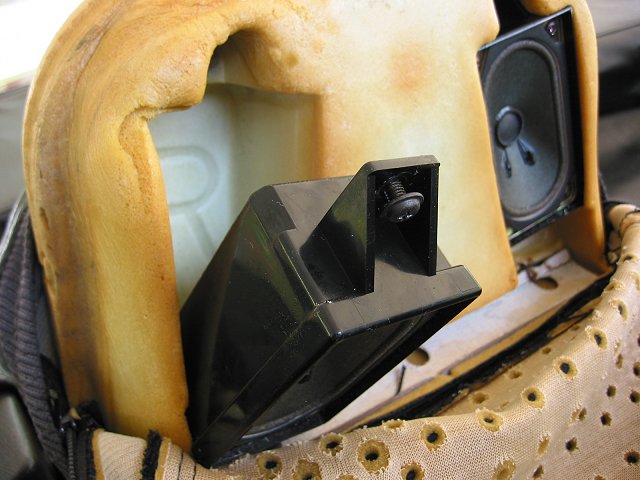
The Clearwater's are light years ahead, next fishout the wires from the original speaker housing.
 Ā
Ā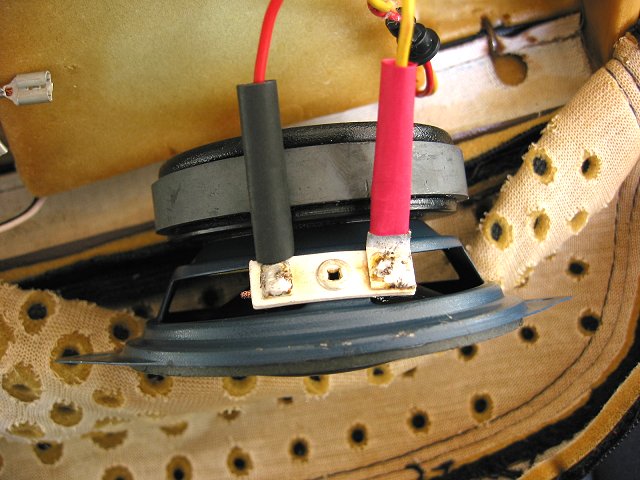 Ā
Ā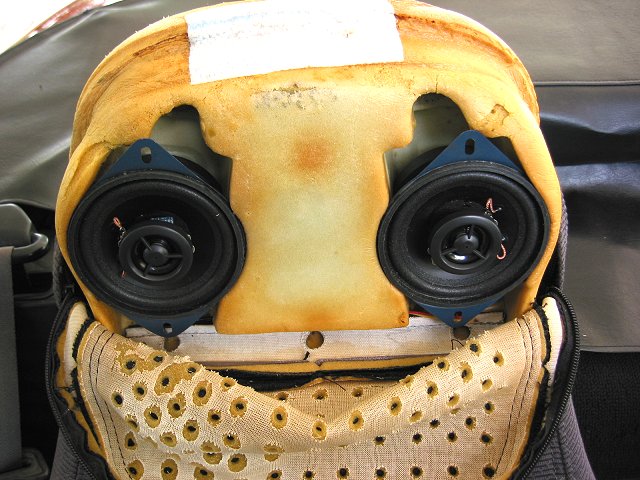
The terminals fit the new speakers perfectly, I installed
some heat shrink to keep from shorting anything.
The speakers just press into the headrest, no screws are used. Then put the
cover back on and zip it up.
tip: before putting the plastic cover on, grab the sided of the headrest with
both hands and press the
speakers towards each other to better form to the head rest.
THESE THINGS ROCK !
Ā
Last A New Antenna
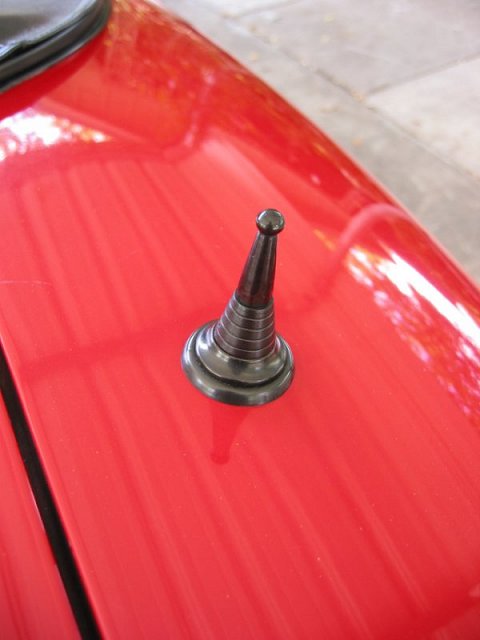
While I was at it, I installed this amplified stubby antenna.
Ā