


|
|
|
|
![]()
|
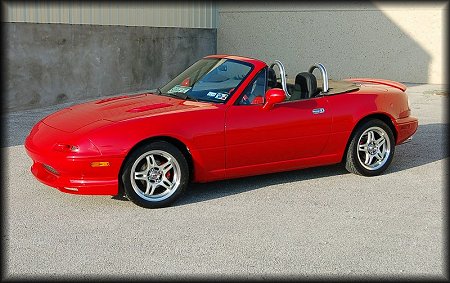
EXTERIOR
|

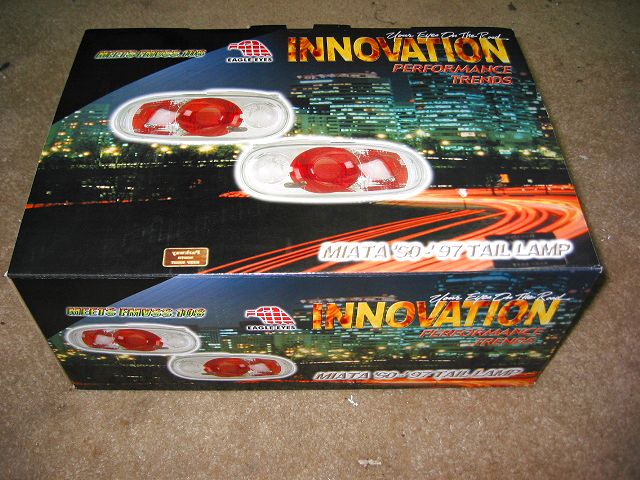
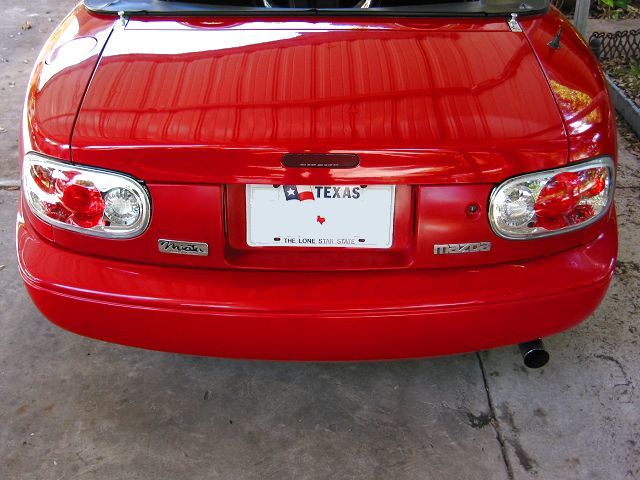
Original on the left + new lights = updated on the right
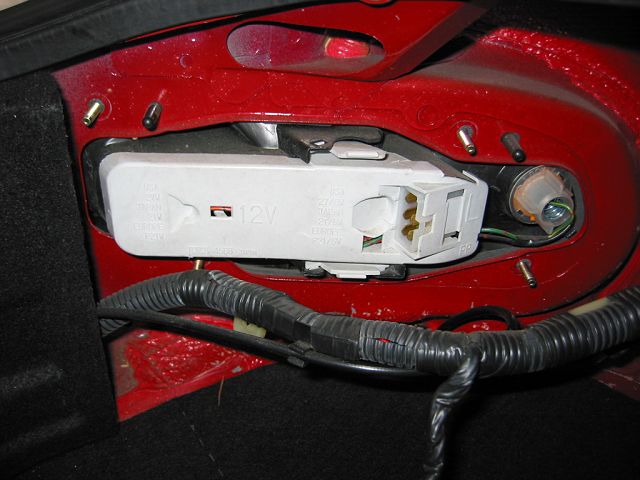
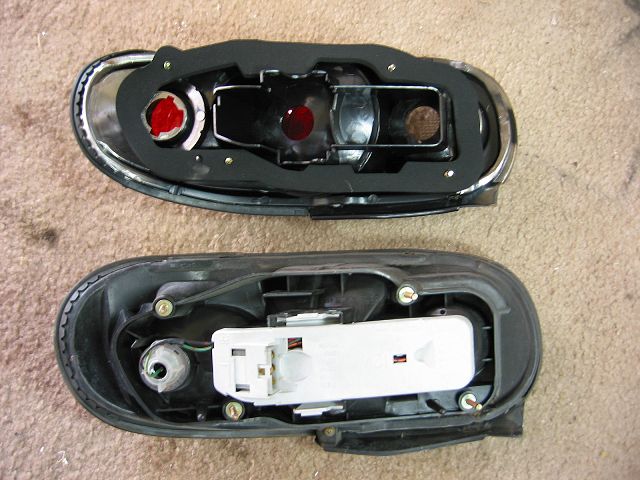
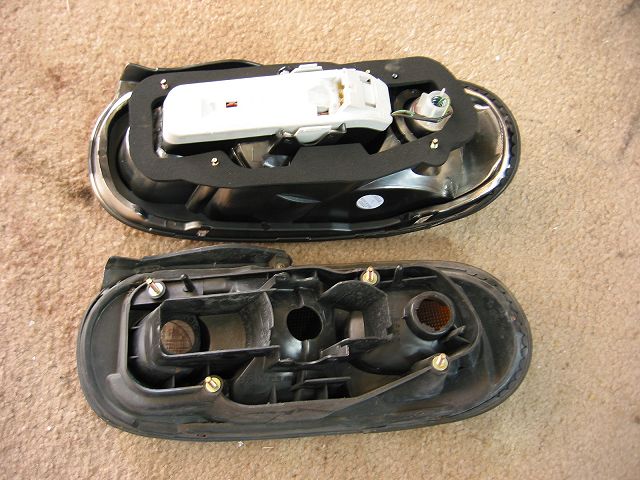
Very simple install, remove the four 10mm nuts from the inside.
Swap the light sockets from the old and install on the new.
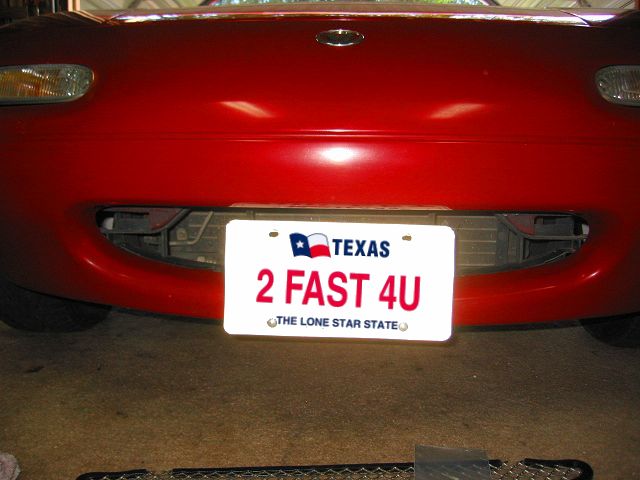
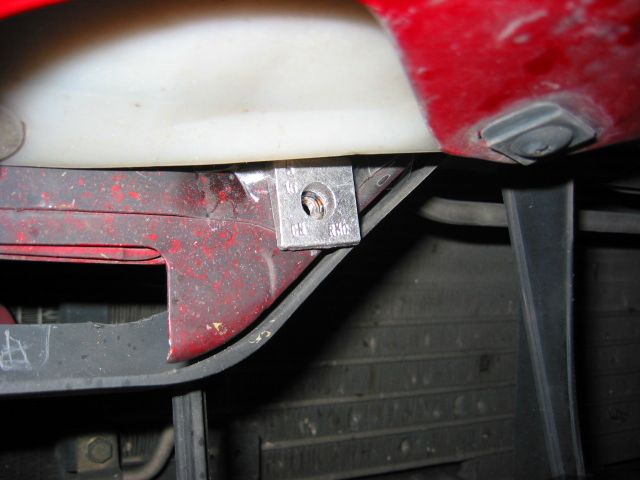
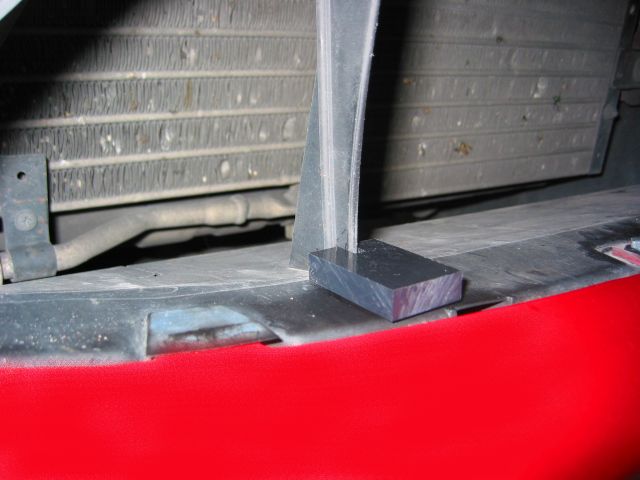
Stock no grill, remove 10mm bolt and tape aluminum spacer in place, install Delrin spacer (peel-n-stick)

Bolt in new grill with bolts and washers provided in the kit.
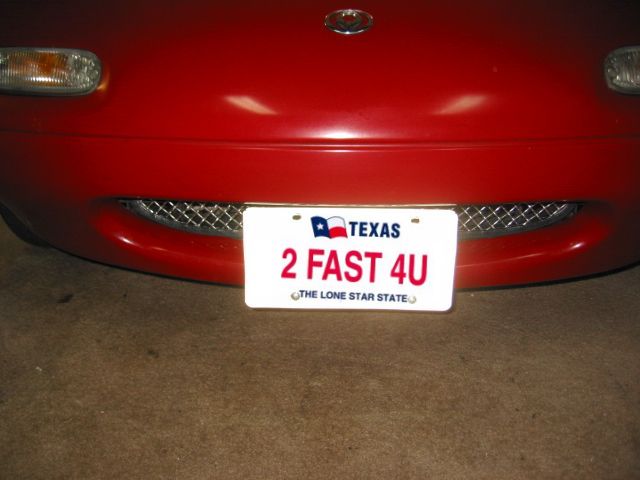
Here you also see my tilting license plate holder in action.
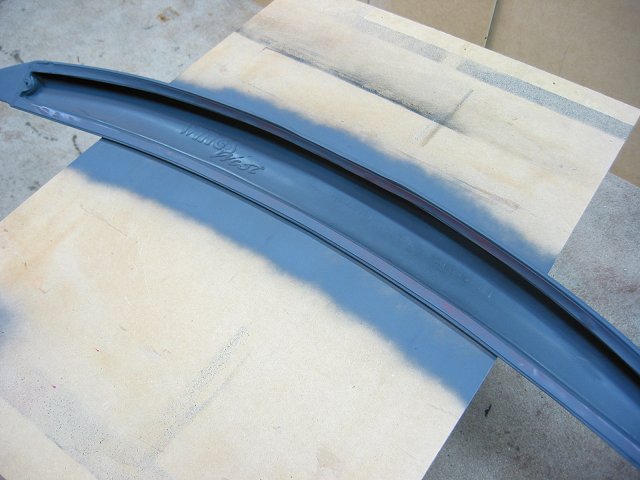
Brainstorm F-1 Spoiler Install

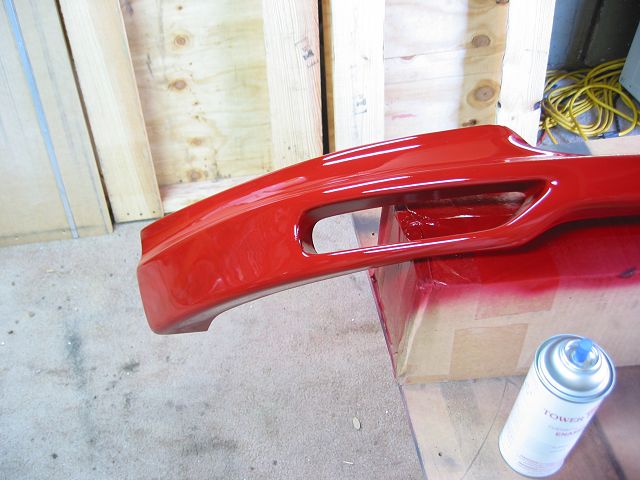
I started wtih a few coats of primer, sanding between coats. Then, wet
sanding
up to 1000 grit before starting to add color. The paint is Classic Red and
came in a spray can from Tower
Paint.

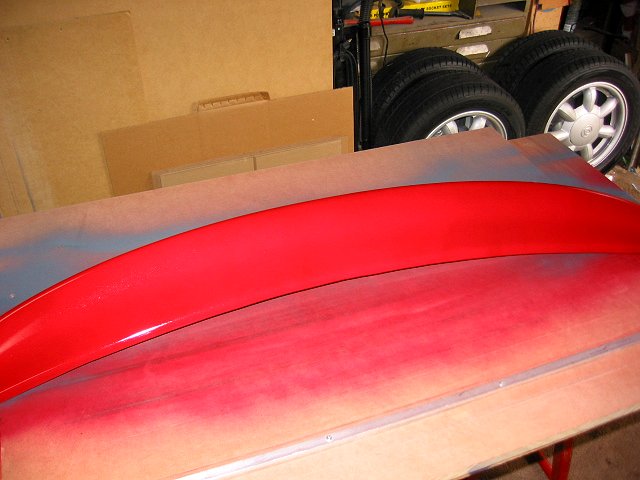
More wet sanding and more coats of color before starting the install.
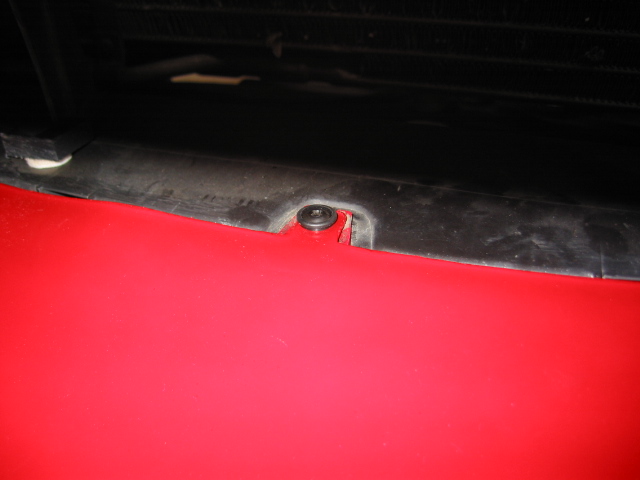
The center attaches
via the origianl nose mounting holes. You must mark and drill the holes in
the spoiler.
I used a couple bar clamps to mock up the fit before drilling.

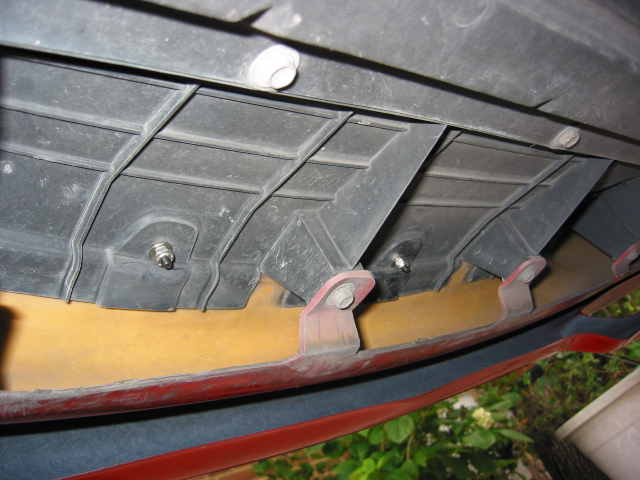
I used bubble wrap to avoid damaging the paint. Next you can see the stainless
self locking
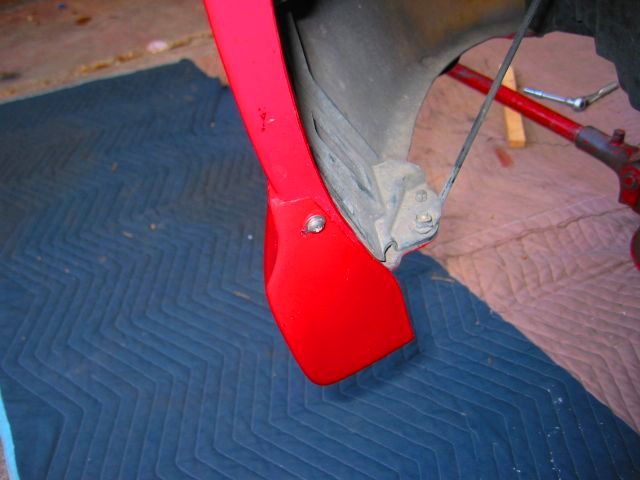
nuts I used to secure the center section of the spoiler and last the stainless
hardware
securing the ends from inside the fender well.
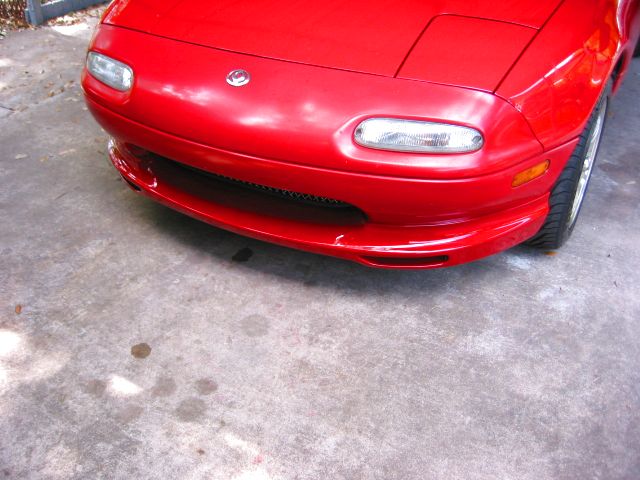


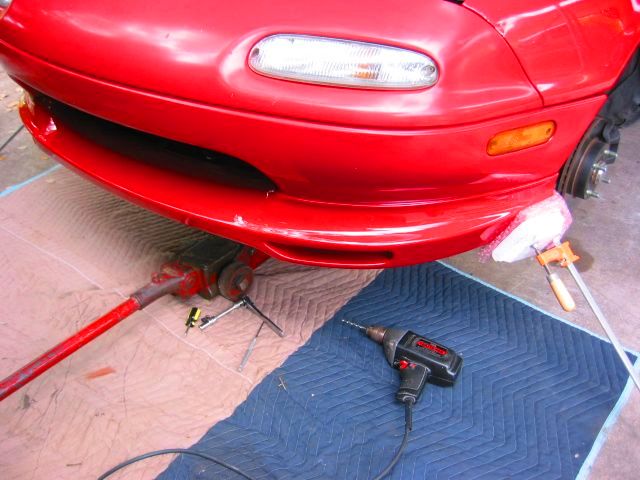
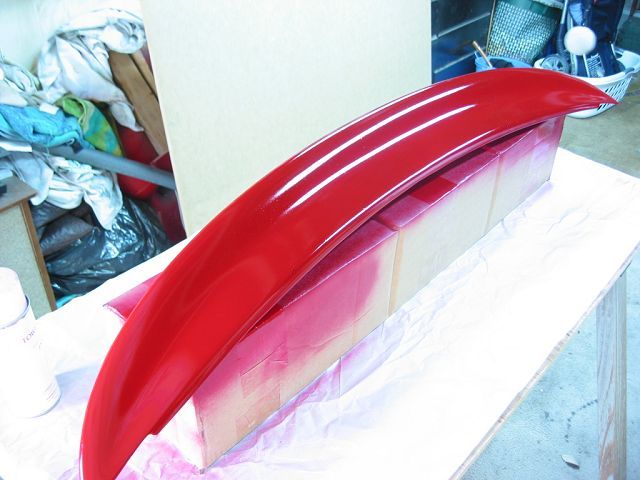
Here is the finished product. I really like the way it give the front
end a more aggressive look.
It does lower the front end about two inches, so I take it easy with curbs,
driveways, dips, etc...
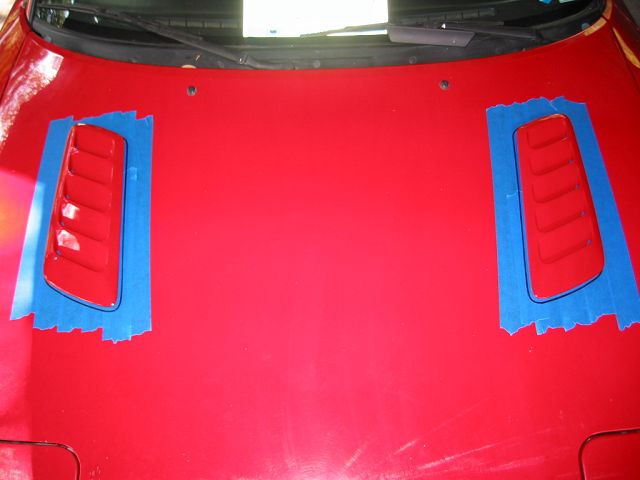

I got these off Ebay. They came on the 94-96 Pontiac Grand Prix GTP.
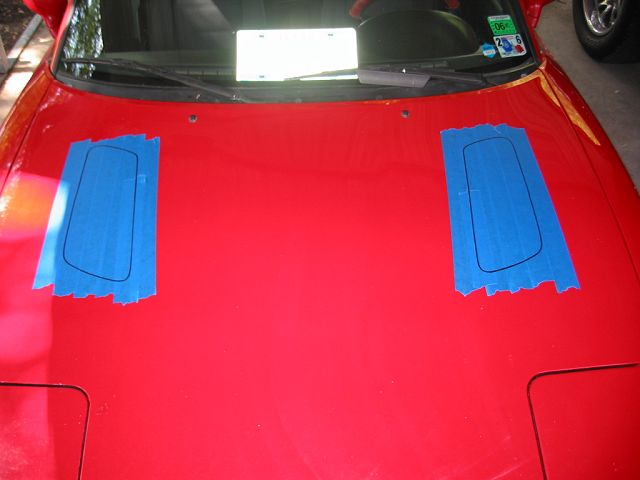
First was to lay down some painters tape, position the louvers and mark.
These are 7" from the side of the hood and 20.5 from the front.
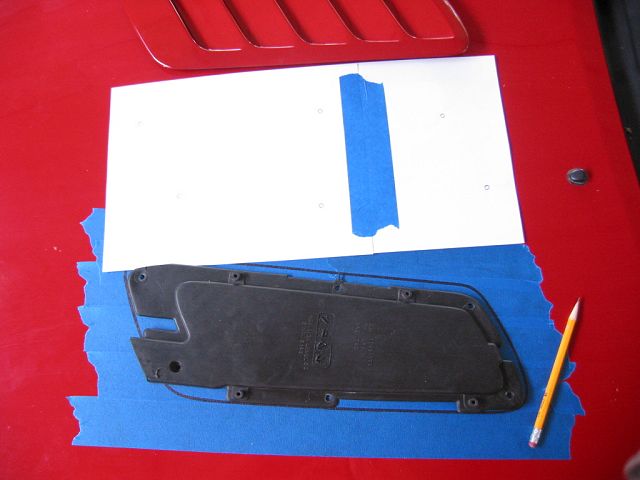
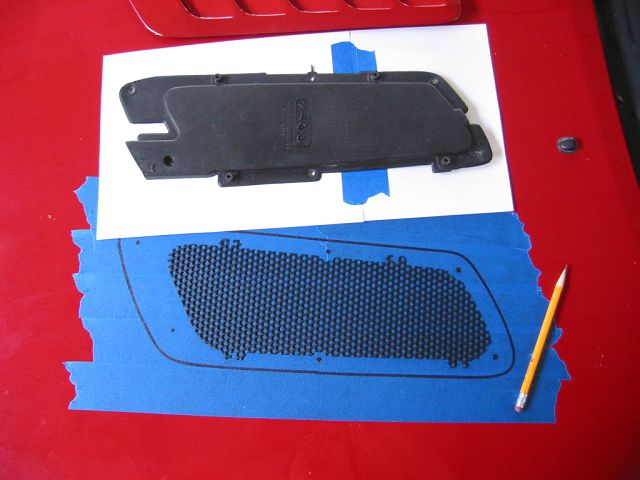
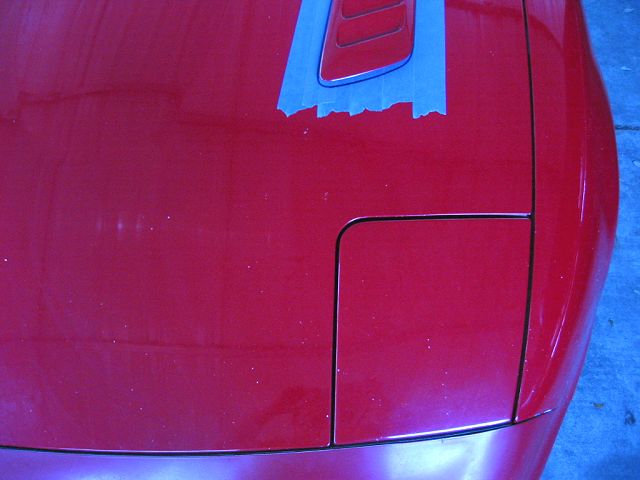
With the outline done, next I used the origianl drip tray to make a drill template.
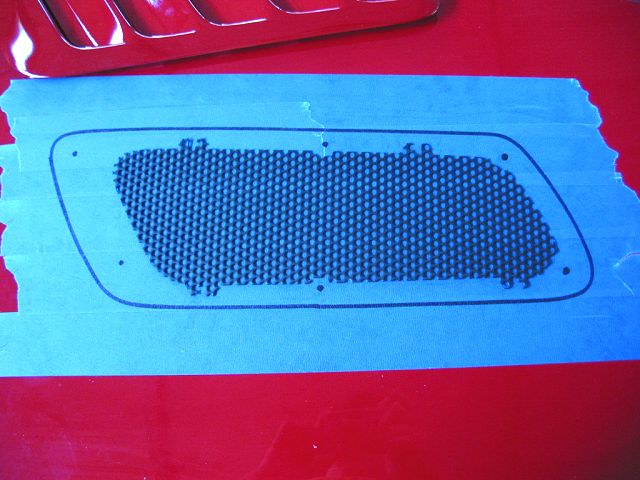
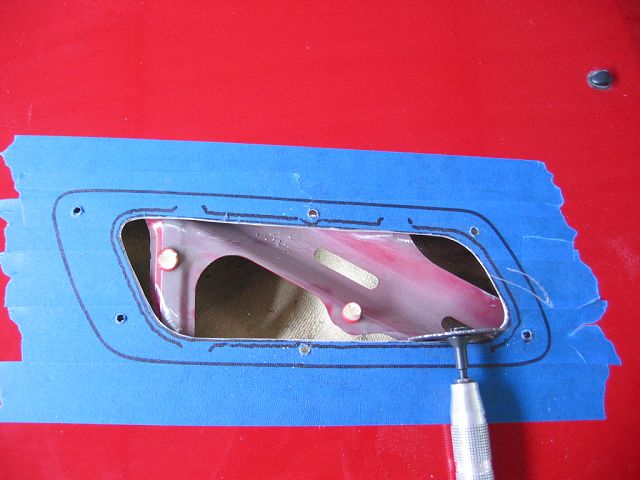
I used the original screen as the template for the cutout.
I used a heavy duty Dremel for most of the cutting.
I finished up with a drill and grinding bit.
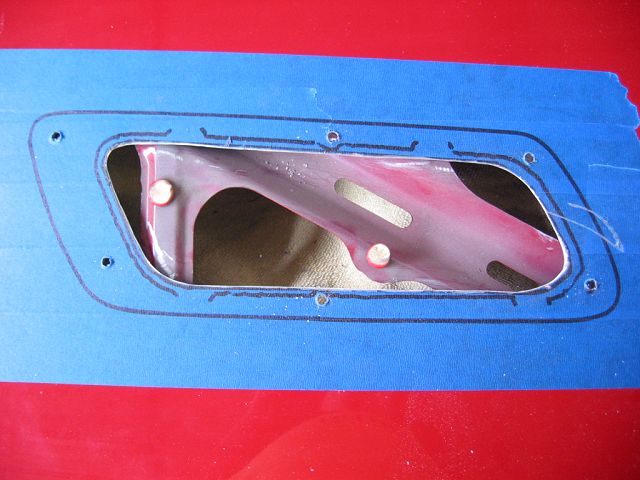


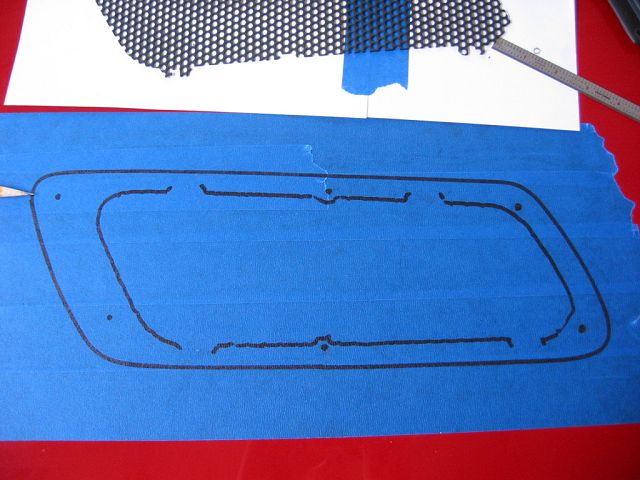
With the cutout done, I used the paper template to mark and drill the
holes.
Some Krylon semi-flat black to clean things up.
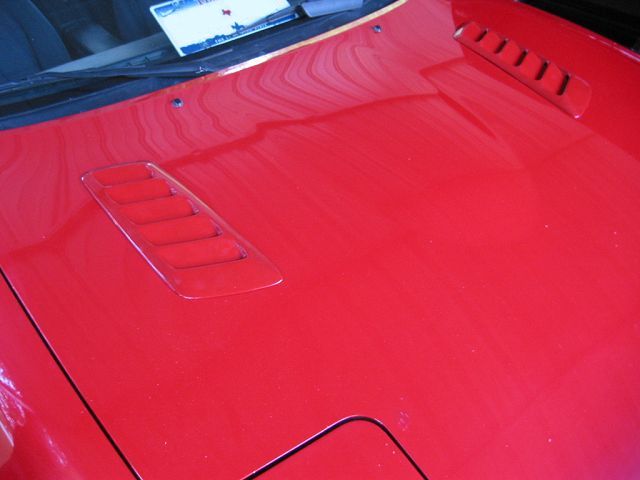

I installed 1/4" ID rubber grommets on the mounting posts,
because I did not install the drip tray.
Wings West Rear Spoiler Install

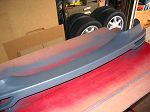
Spoiler came black, first primer, sanding, first coat of color.
Again, the Classic Red spray paint came from Tower
Paint.
Several more coats of color, wet sanded between coats, last coat not sanded
yet.
I will let it dry for a few weeks before sanding with some 2000 grit and then
polishing.
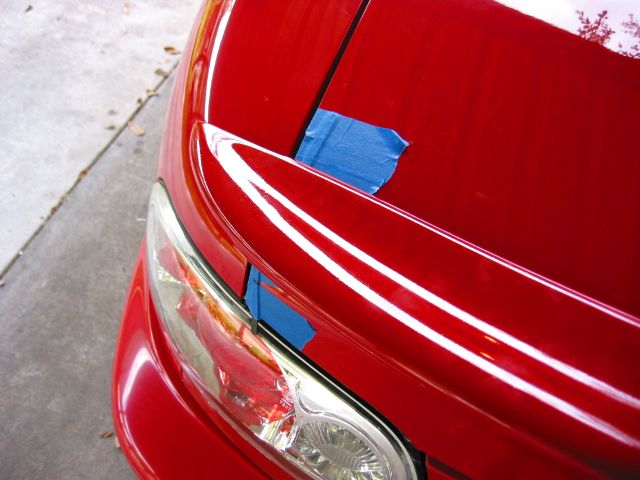
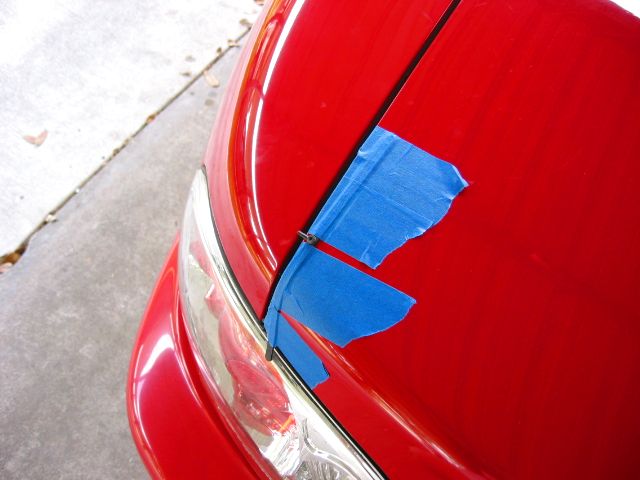
Using the supplied alignment strips, I position the spoiler, doing a lot of
measuring to make sure it's centered.
Remove the spoiler and applied some more of the blue painters tape and refitted
the spoiler again to triple check.
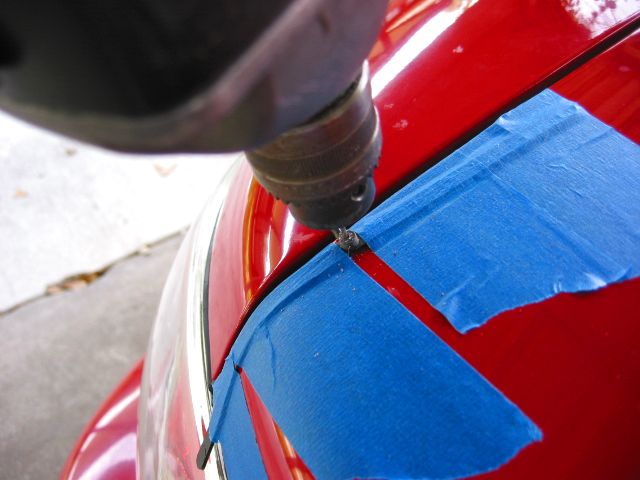
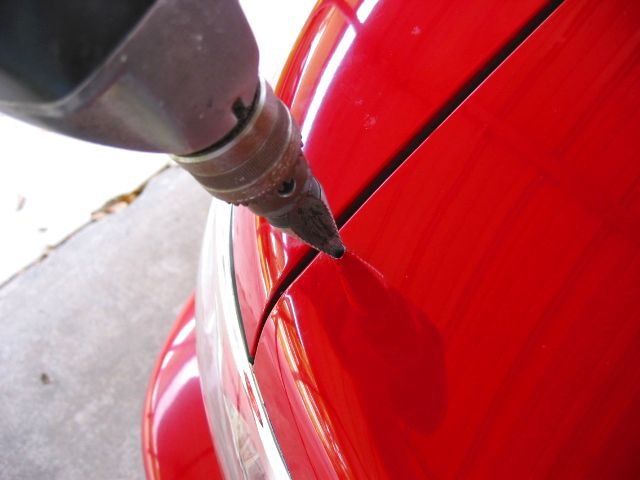
Scary part: drilling a pilot hole using the alignment strip. Then enlarging
with a Uni-Bit.
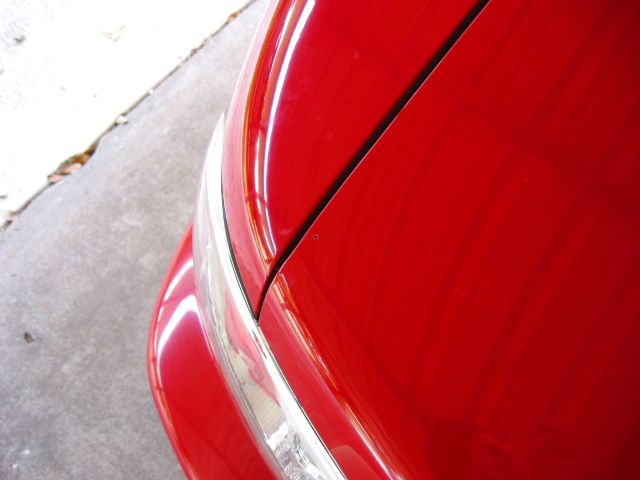
Bare metal where I drilled was primed and painted to avoid rust.

For now, it is fastened only with the screws.
I will remove the backing on the double sided tape after final sanding and
polishing.

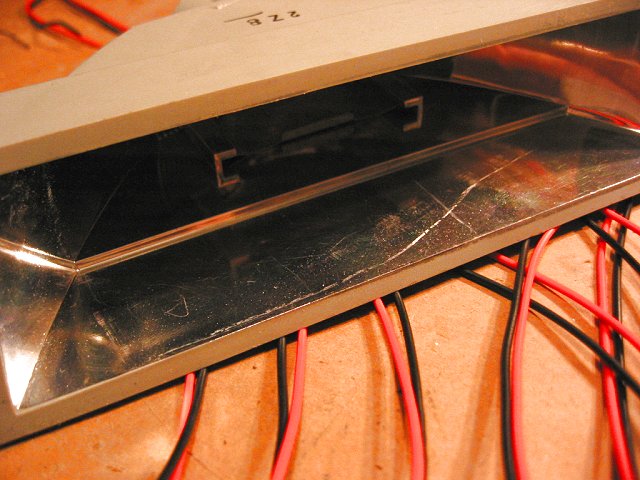
First remove the two 10mm nuts holding the assembly in place.
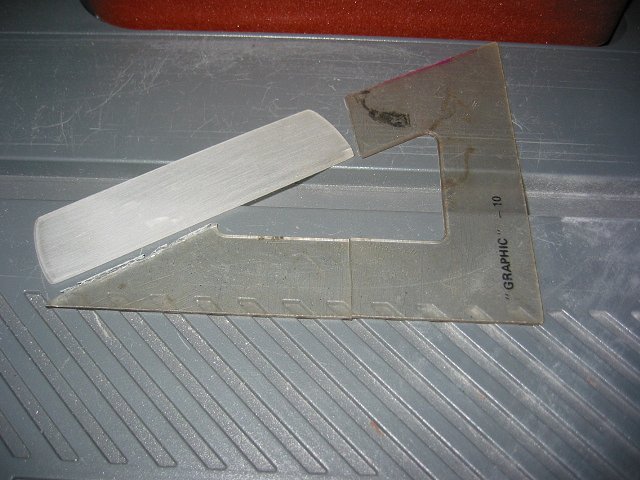
I used an old piece from a broken draftsman's triangle as my plastic light
insert.
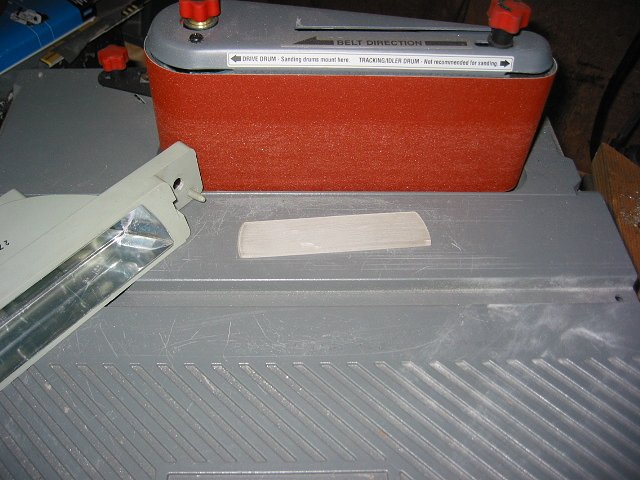
I shaped it to fit the housing on my table sander.

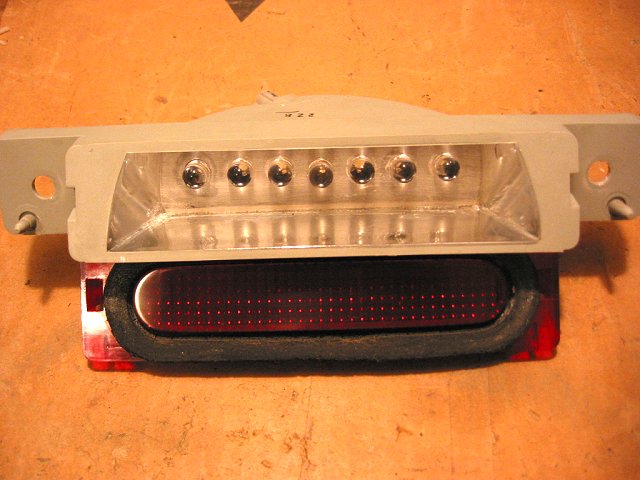
The 10mm LED's I picked up off Ebay from ColdFusionX
and the plastic insert.
While I was at it, I decided to smooth the brake lens (sanded and polished)
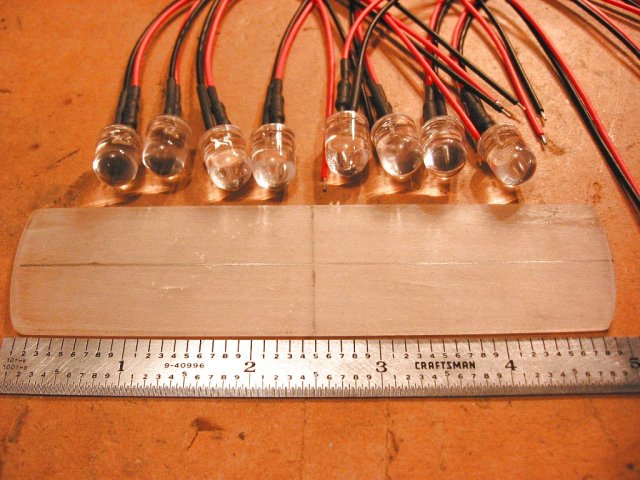
Then the insert duing some trial fitting and marking for LED placement.
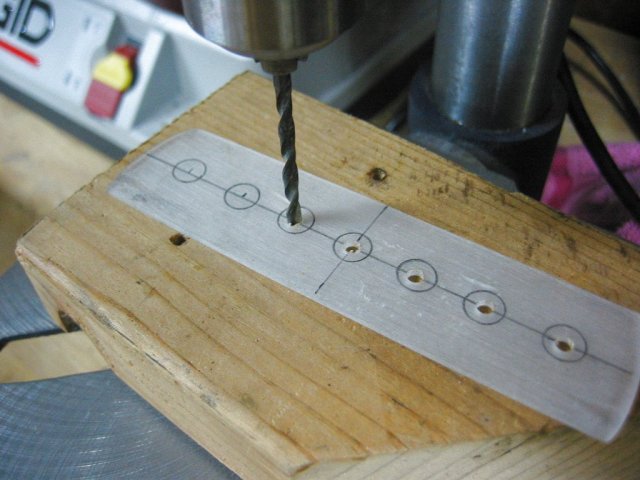

I drilled pilot holes and the enlarged them on my drill press.
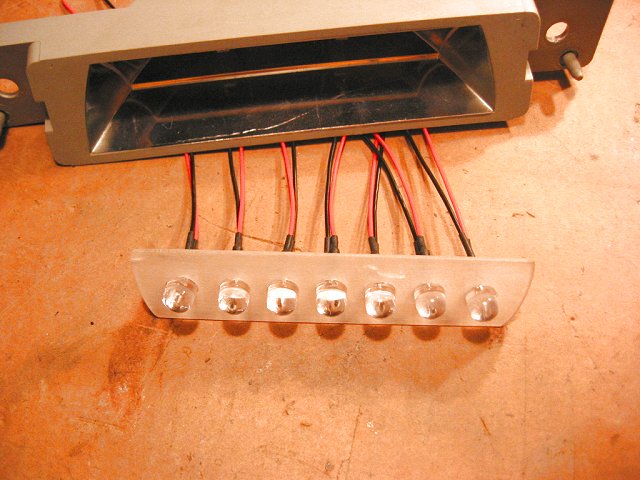
Final drill size was 25/64ths, LED's mounted and just a touch of glue on the
back side.
Next step was to solder all the wires to some crimp lugs I had laying
around.
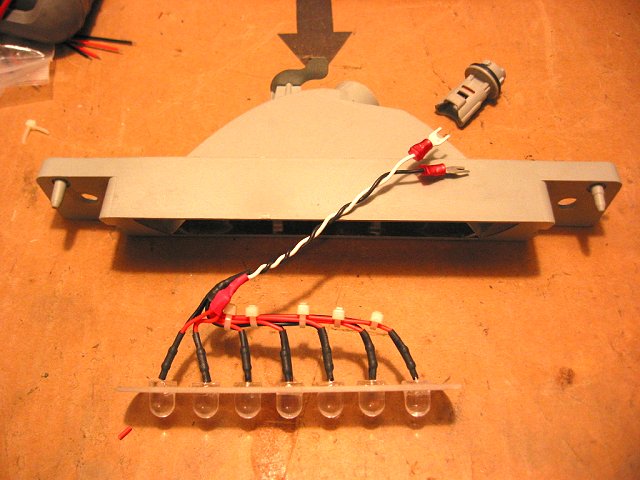
Note the resistors soldered inline to each LED for used with 13.8 volts.
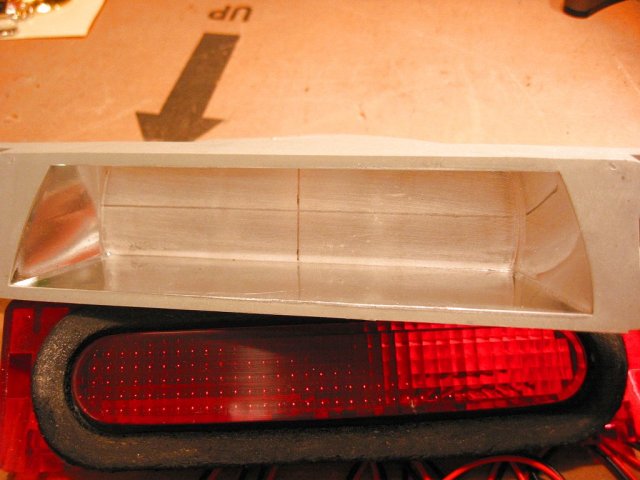
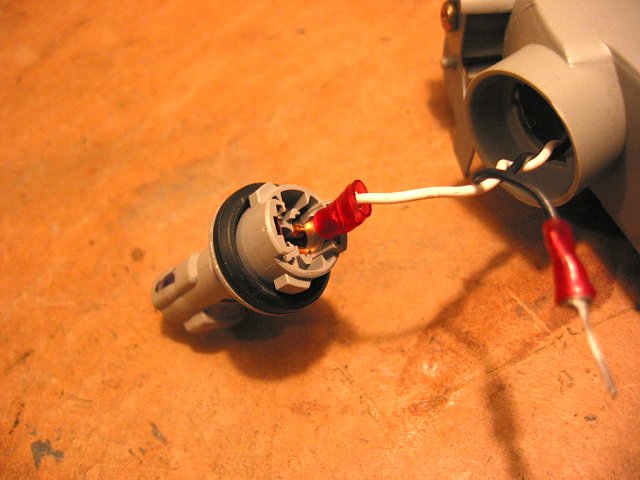
I just pressed the lugs into the original lamp housing.
Then you will notice the lip in the housing the LED's mount against.

I put some "Goop" along the housing edge and held it in place
with a clip until dry.
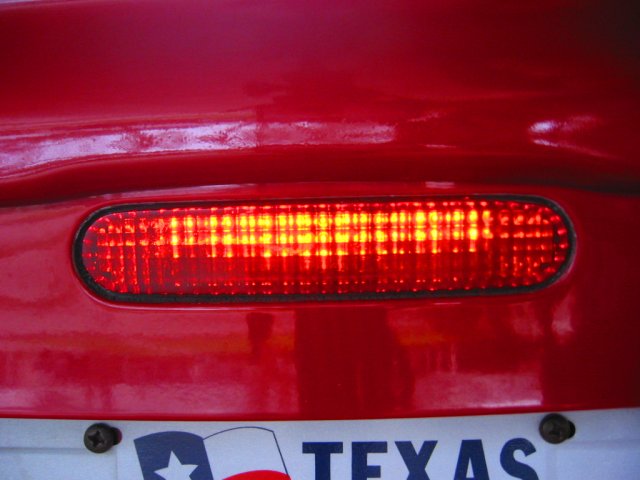
Now to snap the red lens back on and install in the car. LED conversion complete.